/* */ Beulah Bee: greeting card
Showing posts with label greeting card. Show all posts

July 16, 2023

Moments

This year, I post with a promise to craft more then disappear for several weeks. Truth is, my only excuse is too much screen time. But I broke away from the current events long enough to make this card using Simon's Monday challenge prompt, "We're Going Around in Circles."

It's simple enough, the paper is all Tim Holtz along with the foregound stamp (Tiny Prints). The flowers were accented with white Distress. A thin line of silver Stickles along with Nuvo Crystal Drops (Malted Milk) were used to accent the edge of the circle and I used a Small Talk sticker for text.

I felt I had to balance out the top of the circle somehow so I added a scrap of cheese cloth and a tiny Mirrored Star.

As always, I hope this post finds you well and happy and I appreciate your visit.

Until next time, take care.

June 10, 2023

Window Cat Times Three

I really like this stamp (Colorado Craft Company, New Day Windowsill), so I used it to make three more greeting cards that I'm sharing with you today.

The first one was cut-out after water coloring, placed on a stamped background (Tim Holtz Tiny Prints), and trimmed with Nuvo Crystal Drops and a Remnant Rub.

The next one was left on the watercolor paper (hot press), placed on a stamped background and trimmed out with lace and another Remnant Rub.

The final card (which is my favorite) was also cut-out and mounted as above. I tinted the tiny flowers in the background with white ink, distressed the edges with walnut ink and trimmed it with Nuvo Crystal Drops and a stamped greeting (from the set).

I tried to select sentiments that conveyed contemplative thoughts--human or feline.☺

As always, I hope this post finds you well and happy and I appreciate your visit.

Until next time, take care.

May 30, 2023

Big Bugs

I was put to the task of making a birthday card for my 13 year-old nephew. Not easy since most of my stamps/supplies are on the girly side. With all the "What is a Woman" stuff in the news recently, it seems funny to be even writing this. Sure hope no one's offended.

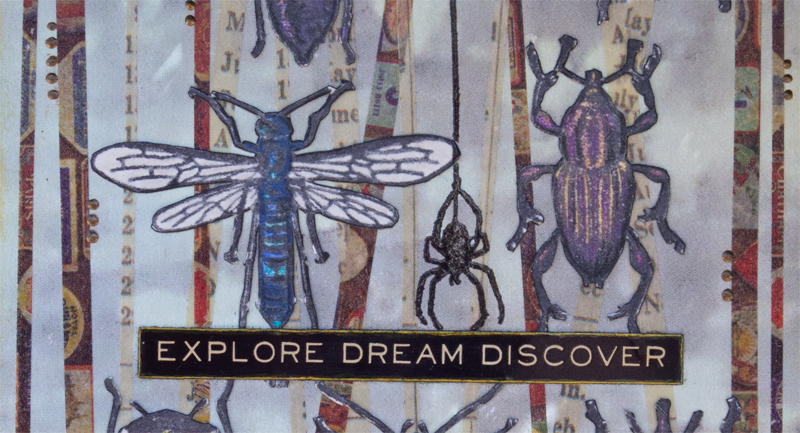
I did have a stamp set by Tim Holtz called Entomology that I haven't used much (purchased mainly for the script text included in the set) and thought, "boys like bugs!" So that was the starting point for this card.

The bugs were stamped, tinted and hand-cut then mounted on scrapbook paper. Strips of washi tape were applied along with a text sticker and a few dots, here and there, of copper Scribbles.

Well, I hope he likes it, I've not spent time with any boys this age and times are, as they say, a changing.

As always, I hope this post finds you well and happy and I appreciate your visit.

Until next time, take care.

May 28, 2023

New Day?

It's been a long time since I've posted--I've had the time but lacked the inclination. Worry about the economy, the open border, high crime rates, etc., has dampened my creativity and I'm struggling to overcome it.

Maybe today will break the habit--a new day--and it's no coincidence that my post features a stamp set called New Day Windowsill by Colorado Craft Company.

I used watercolors and stamped a background (Tiny Prints by Tim Holtz).

Here's another version mounted on scrapbook paper (Asuka Studio).

It was fun to play around with different shades of green but I have a tendency to over-work the colors. Practice is the only way to overcome this.

I'm linking up to Simon's Monday challenge, this week it's Watercolor.

As always, I hope this post finds you well and happy and I appreciate your visit.

Until next time, take care.

August 27, 2022

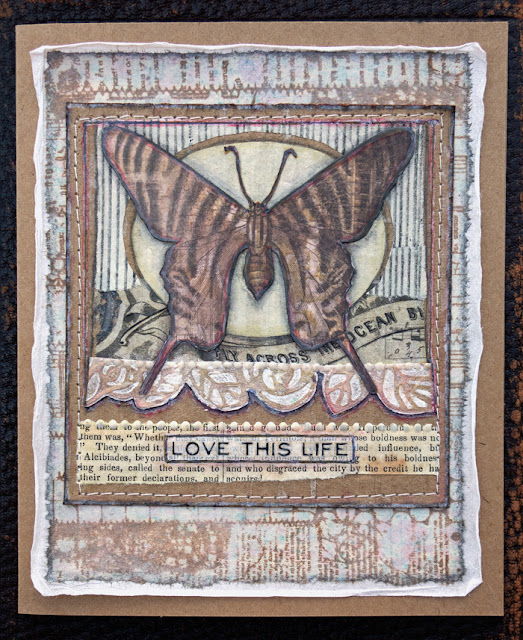
Love This Life

Greeting Card

Prompted by Simon's Monday challenge (Mixed Media), I made a card using kraft cardstock, layers of tissue papers (one stamped), a piece of delaminated cardboard, book paper, Tim Holtz Aviary Collage Paper, an embossed scrap (Roses Texture Fade) and the centerpiece is a moth clipped from the Wallflower paper stash.

I save most scraps from previous projects because they always come in handy for projects like this. 

I used a variety of inks and markers to tint/distress and embellished with a Remnant Rub, machine stitching and Nuvo Vintage Drops.

As always, I hope this post finds you well and happy and I appreciate your visit.

Until next time, take care.

Stamp credit: Carabelle Studio Stitched Mixed Media Background

July 17, 2022

Colorado Corners

Greeting Card

I used a new stamp set for this card and I'm linking-up to Simon's challenge--this week it's Fabulous Florals.

The set is called Floral Corners by artist Kris Lauren for the Colorado Craft Company.

It was stamped on rice paper, tinted with watercolors, fussy-cut for mounting on scrapbook paper, and embellished with Stickles.

I used rice paper because it's easy to cut and plan to alter future stampings of this design to change-up the cornered layout. I just love the stamp's delicate design but a tiny brush was a must for tinting.

As always, I hope this post finds you well and happy and I appreciate your visit.

Until next time, take care.

July 09, 2022

Happy With You

Greeting Card

This card was made with a stamp by Laurel Burch whose art features bright, bold and playful colors. Honestly, I've never had much luck tinting this stamp in the same style (it's harder than it looks).

But given the Simon challenge this week (Red, White and Blue), I limited my palette to just those colors and had better success.

I stamped on top of scrapbook paper, used Pitt brush pens to tint, and applied the image to a background printed with a gelli plate. The text is a Small Talk sticker and the dots were made with a gel pen.

As always, I hope this post finds you well and happy and I appreciate your visit.

Until next time, take care.
May 15, 2022

All You're Wishing For

Greeting Card

Still playing with my new stamp (Hero Arts Succulent Bouquet), this time on book paper filled in using another new toy--a white Kuretake ZIG Cartoonist Brush Pen.

The pen's water-based pigment ink is quick drying and water resistant and it was easy to apply color on top using pen ink and colored pencil.

I really like this pen but it's pricey, $7.50 on Amazon, refill cartridges are $5.


I fussy-cut the stamped image leaving a strip of the book paper to anchor it on a background of Memoranda paper stash scraps and the text is a ChitChat sticker.

As a side-note, it must be the effect of today's upcoming lunar eclipse, but I just had a major light-bulb moment regarding photographing my cards. I was really struggling with focus and it turns out, after reading the camera manual (duh), I was shooting too close to the object. Hopefully, you'll start to see a difference moving forward.

As always, I hope this post finds you well and happy and I appreciate your visit.

Until next time, take care.

May 13, 2022

Hero Arts Succulent Bouquet


I purchased a new stamp set and used it on hot-press watercolor paper. Ever experimenting, I used an olive green shade of Nuvo Crystal Drops to fill some of the leaf areas then couldn't help but throw down some dots around the flower edges.

I created a border with a fine-line marker and green gold Nuvo Glitter Drops. It was mounted on plaid printed paper with a black card stock foundation.

As always, I hope this post finds you well and happy and I appreciate your visit.

Until next time, take care.

May 10, 2022

Daylight Dreams

Greeting Card

Sharing a greeting card today that was an experiment using a white Uniball Signo gel pen (first time using one). After stamping (Simon's Sunshine Flowers) with gray archival ink on a scrap of Tim Holtz Paper Stash (Memoranda), I filled-in the image with the pen then applied tinting over the top.

The gel pen ink isn't waterproof so I had to isolate the layer with an aerosol acrylic medium. Tinting became more challenging now that the paper lost it's absorbancy but at least the white ink didn't run.

I glazed over the image with some original, liquid Clear Rock Candy Distress Stickles (unfortunately, no longer available) and it provided a nice sheen with subtle glittering (very vintage) and also darkened the colors. The text is a Clippings Sticker.

Would I use this technique again? Yes, it's much easier to use a pen over a paint brush to fill-in detailed stamps like this one. I did use a permanent fixative for the isolation coat because I didn't have the "workable" kind so next time I'll try the later to see if there's a difference when it comes to applying color over the top.

I could just use markers, colored pencils, etc., but what I'm seeking is a nice white background when stamping on pre-printed paper so that the colors will pop.

A side note on Clear Rock Candy: I recently bought the dry form that comes in a jar that is sprinkled over any wet medium. I plan to do some experimenting but I'll be hard pressed to replicate the very liquid, easy-to-spread medium that you just squeezed out of the applicator bottle it originally came in.

Ranger doesn't make any of the liquid Distress Stickles any more but, believe it or not, I still have usable bottles that haven't dried out over the years like the non-Distress Stickles do. They came in squeeze bottles with a larger opening on the applicator tip and since I kept some of these empty bottles, well, stay tuned....

As always, I hope this post finds you well and happy and I appreciate your visit.

Until next time, take care.

April 17, 2022

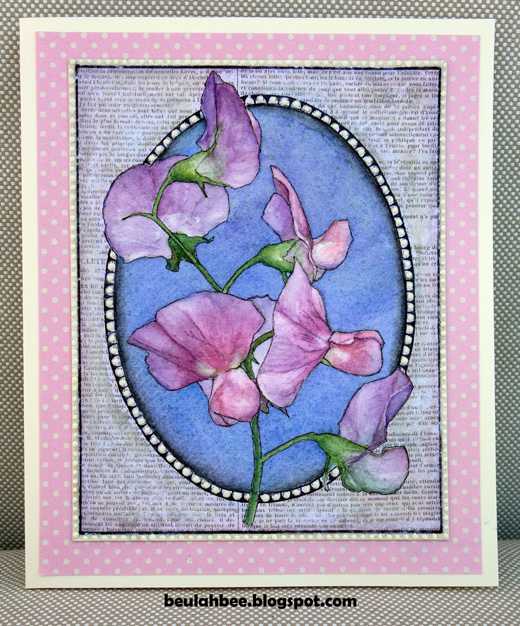
Sweet Pea

Greeting Card

I traced an image of a Sweet Pea then used watercolor for tint, created a background mask from scrapbook paper and used a fine line marker to create the frame borders.

To create the mask, I used deli paper to trace an outline of the oval and flower parts then inserted the tracing on top of the scrap paper for cutting.

For better emphasis, I later outlined the watercolor drawing. Maybe I am so used to stamped images that the no-line effect just didn't seem right to me.

I used dimensional dots for accent (Scribbles) and I left off any text so that I can customize the card when I'm ready to gift it.

I'm linking up to the Sweet Treat challenge at Simon.

As always, I hope this post finds you well and happy and I appreciate your visit.

Until next time, take care.

April 09, 2022

Easter Greetings

Greeting Card

Welcome to a longer post today to explain my inspiration for this greeting card and to share some family memorabilia.

It was made with an old pillow case scrap and I traced a design that was machine- and hand-stitched, tinted with watercolors and framed on texture-embossed mulberry paper.


I took my inspiration from a collection of vintage embroidered postcards sent to my great Aunt Esther by her brother (my grandfather) from France in 1918 when he was a soldier during World War I.


The cards were made with machines that imitated hand embroidery and were provided with patriotic, romantic or religious messages. They were sent home by the officers and soldiers that lived and fought in the trenches of northern France. You can learn more about them here.


These were mailed in an envelope to protect them, were lovingly stored for more than 100 years and are in excellent condition. One has an inscription on the back which reads, "Dear Esther, the money enclosed is worth 17-1/2 cents American money. That's what these postcards cost a piece."

It's worth noting that my aunt was an avid postcard collector so I expect she was overjoyed to receive them. Though her greatest joy, I'm sure, was when the war ended and he returned home. My grandfather was very young when he served and the experience had a detrimental affect on his mental health.


My hope for Easter this year is to see an end to the war in Ukraine and I will pray for it.

I'm linking to Simon this week for their Easter/Spring challenge and my card will be mailed to my good friend, Thelma, who introduced me to card making many years ago.

As always, I hope this post finds you well and happy and I appreciate your visit.

Until next time, take care.
H A P P Y   E A S T E R !

March 24, 2022

Sunny Bee

Greeting Card

Prompted by Simon's Monday challenge to make something "Bright and Cheerful," I chose to use their Sunflower Garden stamp set and a mix of watercolors.

My somewhat less conventional mounting was done by cutting the watercolor 1/4" from the outside edge leaving two pieces, trimming the inside piece again to create a gap and then reassembling on black cardstock.

The text was die cut in multiples and stacked for dimension. The bee was cut from a pattern and lined with tissue paper to provide body color and luminescent wings.

As always, I hope this post finds you well and happy and I appreciate your visit.

Until next time, take care.
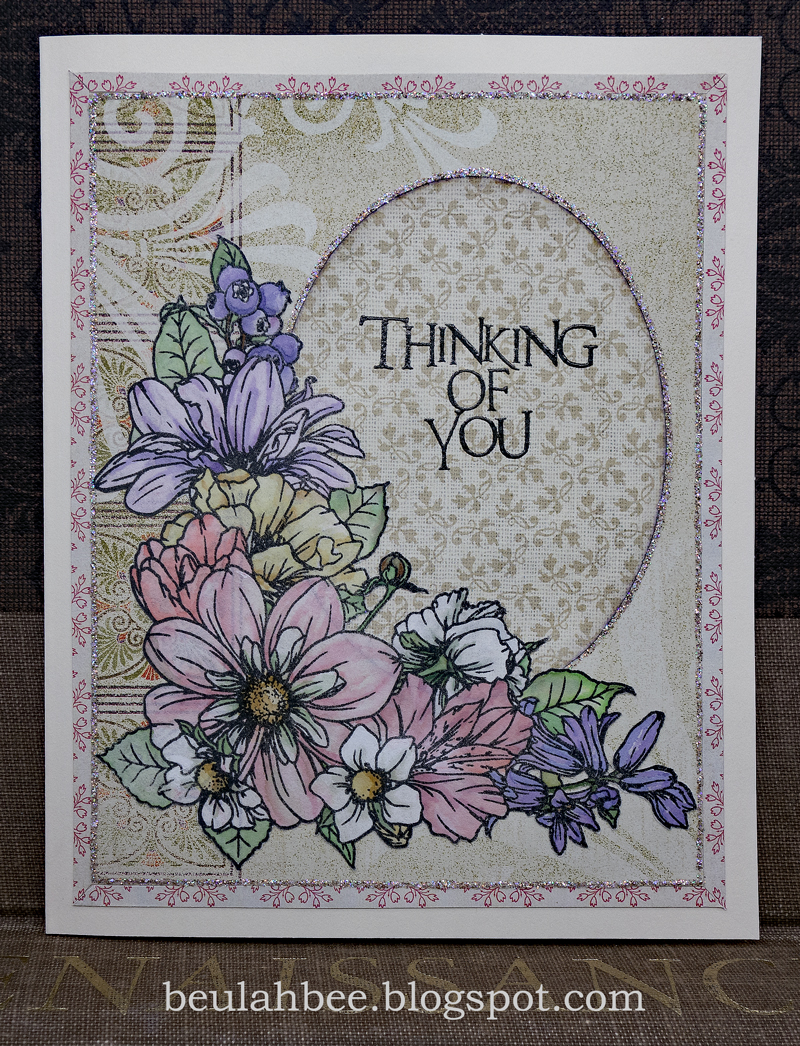
March 06, 2022

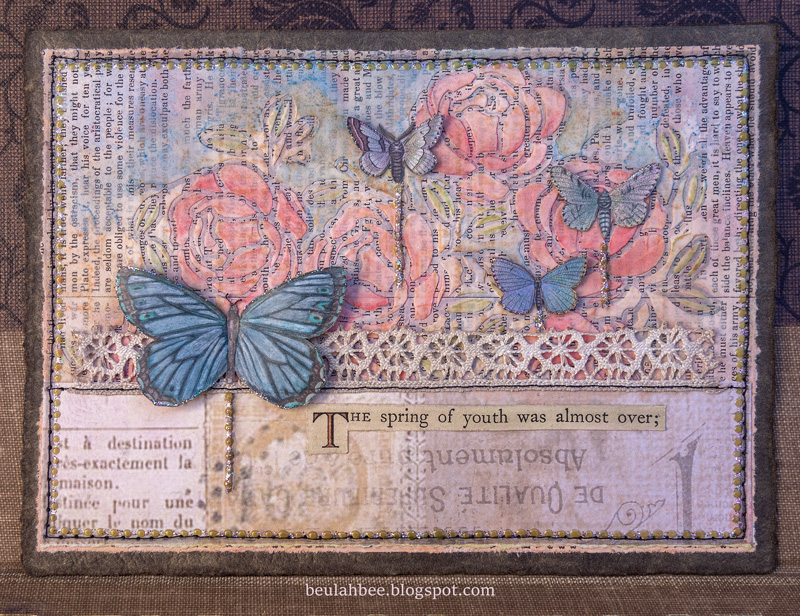
The Spring of Youth

Greeting Card

I made this card by stenciling with paste over a book page then tinting it with inks. The butterflies were cut from scrap book paper. I stitched it to a card and used dimensional dots and glitter for accents.


I'm linking up to Simon for the weekly challenge, "Use At Least One Stencil."

As always, I hope this post finds you well and happy and I appreciate your visit.

Until next time, take care.

February 23, 2022

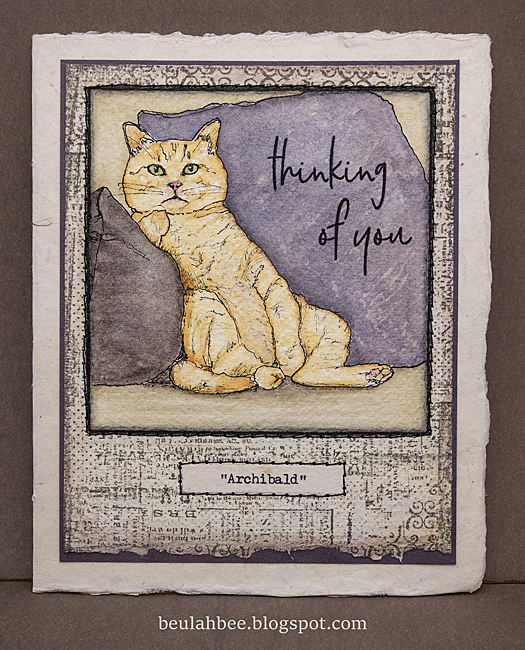
Archibald

Greeting Card

I came across an image in a woman's magazine that inspired this greeting card. I used a technique where you make a grid over the original with a smaller scale version on the support you plan to transfer to and took these photos to illustrate.

Here's a link to a video tutorial if you like to know more about this technique.

I used a fine quill pen nib and black india ink to go over my pencil drawing. Then it was simply a matter of tinting it with watercolors.

I finished it off by stamping a patterned border and a greeting. I made a typewritten "portrait" label and machine-stitched it to a piece of mulberry card stock.

As always, I hope this post finds you well and happy and I appreciate your visit.

Until next time, take care.

January 22, 2022

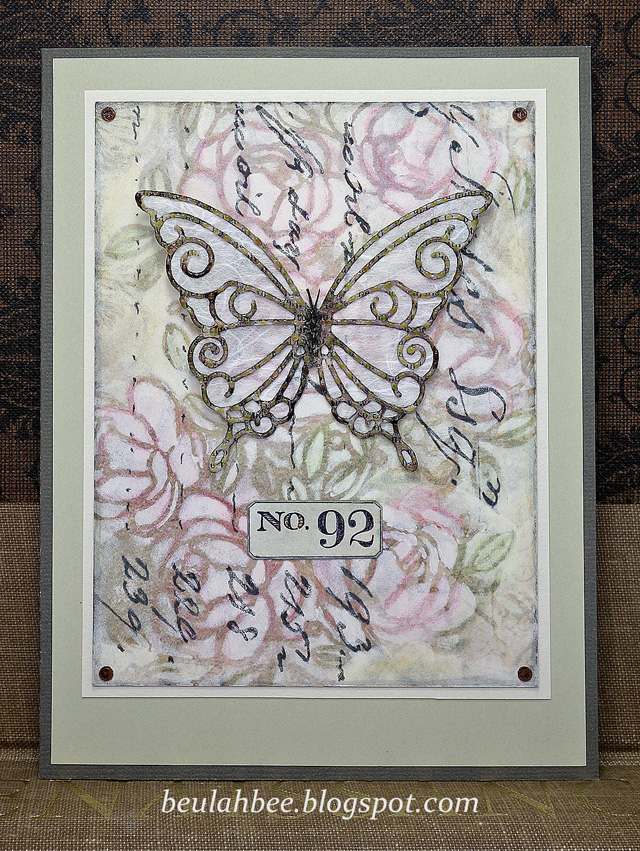
No. 92

Greeting Card

Mom turns 92 in about a week and this is the card I made for her. I used a stencil and white paint over a piece of scrapbook paper then tinted it slightly with colored pencils and inks.

I glued a scrap of white mulberry paper on the back of a die-cut butterfly then embellished it with glossy accents. The label was hand-made then stamped. The corner bits are just paper hole punches.

As always, I hope this post finds you well and happy and I appreciate your visit.

Until next time, take care.

December 04, 2021

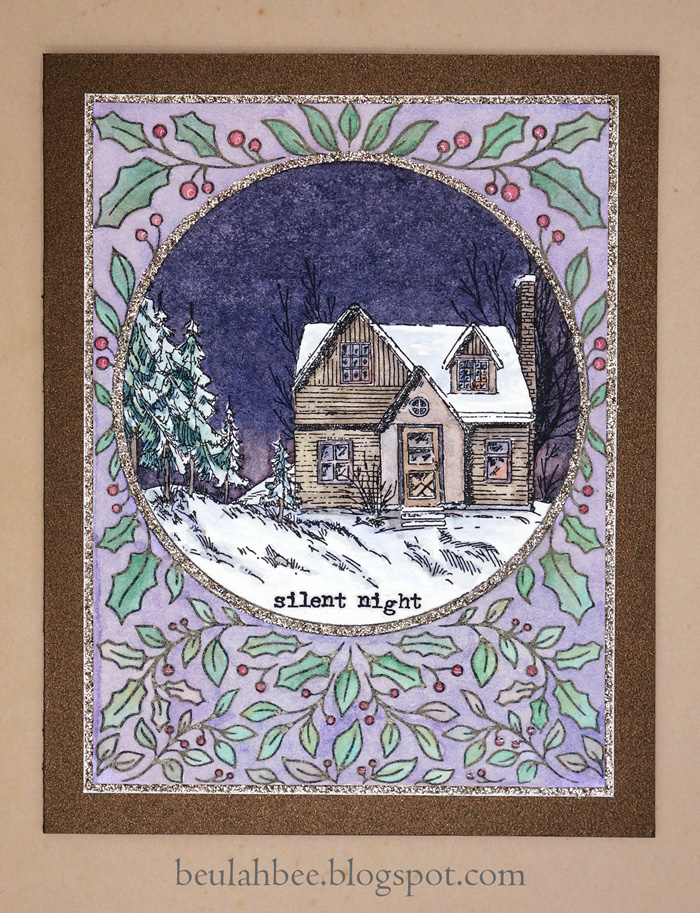
Silent Night

Greeting Card

Here's another try at a two stamp combo--this time it's a night-time version (see previous post for a look at my first try).

I lightened up the foreground stamping by using gray ink. I guess the next thing to try with this stamp might be a "no-line" watercolor version.

You might be curious to know that the dark sky was made by mixing ultramarine blue and orange lake and I lightened the tint at the horizon line to create the illusion of depth.

Greeting Card

As long as you have a tiny brush handy, painting small watercolor scenes like this one are fast, easy and very satisfying!

I mounted my stamping on bronze metallic cardstock and used champagne-colored Stickles so I'm linking up to Simon's "Sparkle Mode" challenge this week since I made something glittery.

As always, I hope this post finds you well and happy and I appreciate your visit.

Until next time, take care.

Stamp sources: Pink Fresh Happy Holidays Circle Frame, Studio Light Christmas Scenery

December 01, 2021

Peace

Greeting Tag

Two stamps, one piece of watercolor paper and paint, topped off with glitter glue, glossy accents and a Remnant Rub and I've just made another card for Christmas.

Greeting Card

I might make another one but I'd stamp the holly border much lighter or knock it back with paint because I feel it competes too much with the scenery focal point.

I'm linking up to Simon's "Sparkle Mode" challenge this week which is to make something glittery.

As always, I hope this post finds you well and happy and I appreciate your visit.

Until next time, take care.

Stamp sources: Pink Fresh Happy Holidays Circle Frame, Studio Light Christmas Scenery

October 27, 2021

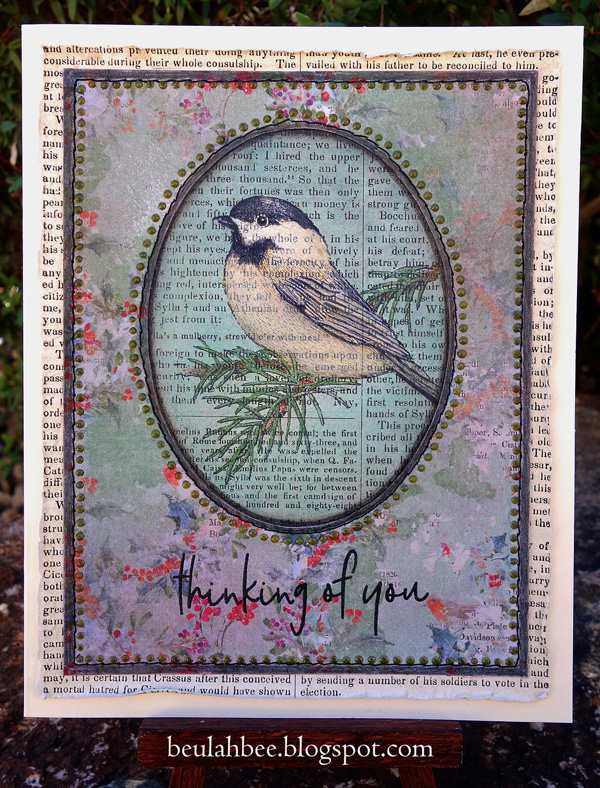
Chickadee

Greeting Card

First time using a new stamp (Whimsy Chickadee), one I had my eye on for awhile, but was a little disappointed once received because it's not trimmed and doesn't have an image on the top side to help with alignment.

I stamped on book paper, tinted with colored pencils and Distress inks, and placed the image behind an oval cut from scrapbook paper (also distressed). I machine-stitched the borders, darkened the edges for accent, added crystal drops from Nuvo and heat-embossed the text.


I'm linking up to Simon's "thinking of you" challenge.

As always, I hope this post finds you well and happy and I appreciate your visit.

Until next time, take care.

September 12, 2021

More Sunshine Flowers

This image (from Simon's Sunshine Flowers set) was stamped on hot press 140 lb. watercolor paper and then fussy-cut. The flowers were tinted with dollar-store markers and water. I added some Liquid Pearls to embellish. The die-cut text was layered using three stacks.

I'm linking to Simon's Monday challenge, this week's theme is "stamp it."

As always, I hope this post finds you well and happy and I appreciate your visit.

Until next time, take care.